
I will share my one little tip that we learned the hard way on Friday night. You must have your kids checked into childcare ONE HOUR before the store closes. I was not aware of that little factoid. So we arrived at Small Land at 7:08, and found out the store closed at 8:00pm, and that childcare was closed. It was a very sad moment for everyone. The girls love playing there, and we were looking forward to a little browsing time with just little Z.
Anyway, we ran into an old friend while shopping with the family. And, she totally made my night telling me that she checked this blog everyday! Really? Everyday? That's encouraging. I love hearing that someone reads this blog and enjoys it! Thanks, Jackie!
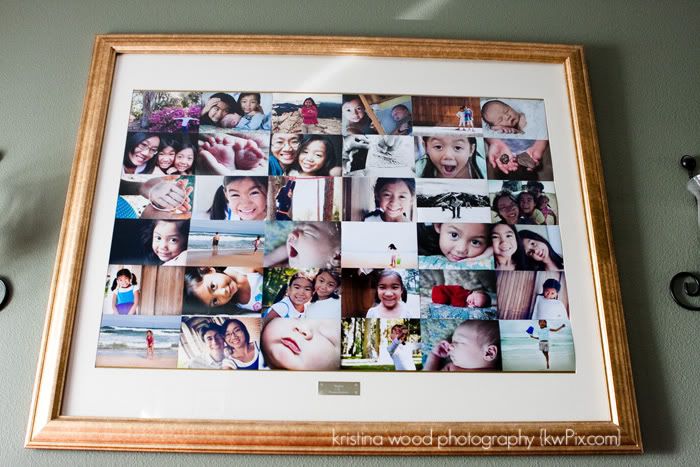
On to the subject of this post. Remember when I was stuck in a rut? I'm slowly working my way out of it. I decided to keep that large frame and repurpose it. I liked the size of it, and I didn't want to start from scratch, so I decided to try to work with it. I've been wanting to get more of my photography into my living room, and love how this turned out!
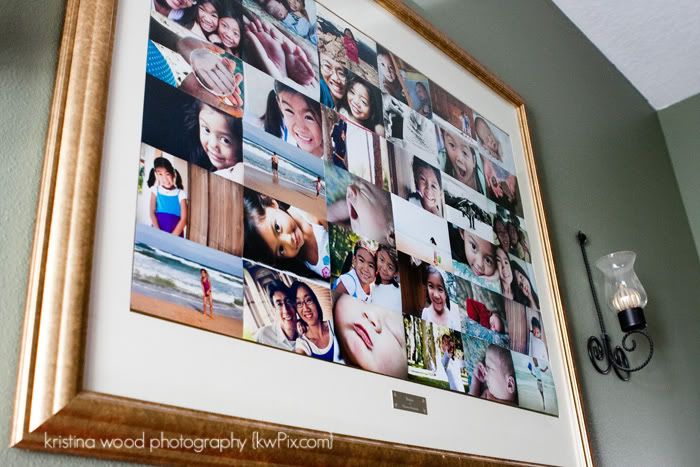
I had to tear off the backside of the frame and remove a bunch of staples and large piece of cardboard. When I took the actual print out, I realized it was glued to the matte board, so I just stuck my photos on top of the print by using the oh-so-high-tech scotch tape. Yes, scotch tape. In order to figure out what sized photos would work best, I took lots of measurements, and realized that I could fit 6 rows and 6 columns of 4x6 sized photos almost perfectly. The last column on the right is very slightly overlapped underneath the column beside it.
I just used photos that I already had on hand. (I have a box full still waiting for me to do something with them!) But, now that I know I love this, I'll probably be more diligent about printing out photos I love in order to put them in this frame.
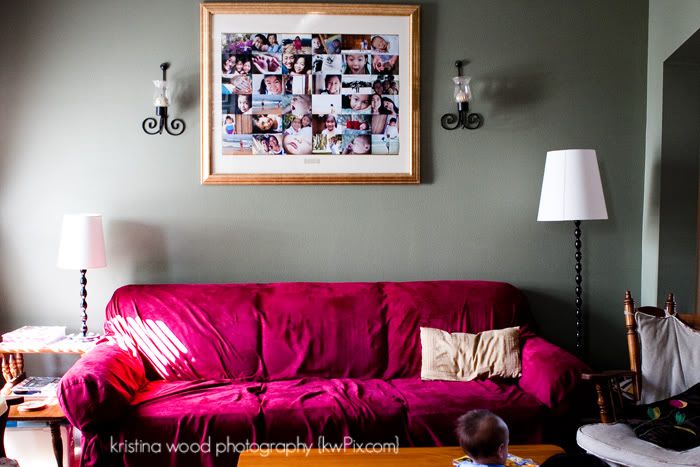
Still don't love my sconces next to the large frame, but I'm so proud of taking a baby step! I'm thinking something more modern. Maybe some W's? I'm going for the non matchy-matchy look. Any more ideas?
To put on the sides instead of the sconces: how about some funky repurposed mirrors with chalkboard paint on them? Then you could change up messages, family quotes, greetings, etc!
ReplyDelete